Wednesday, June 27, 2012

Paper Cut-Outs


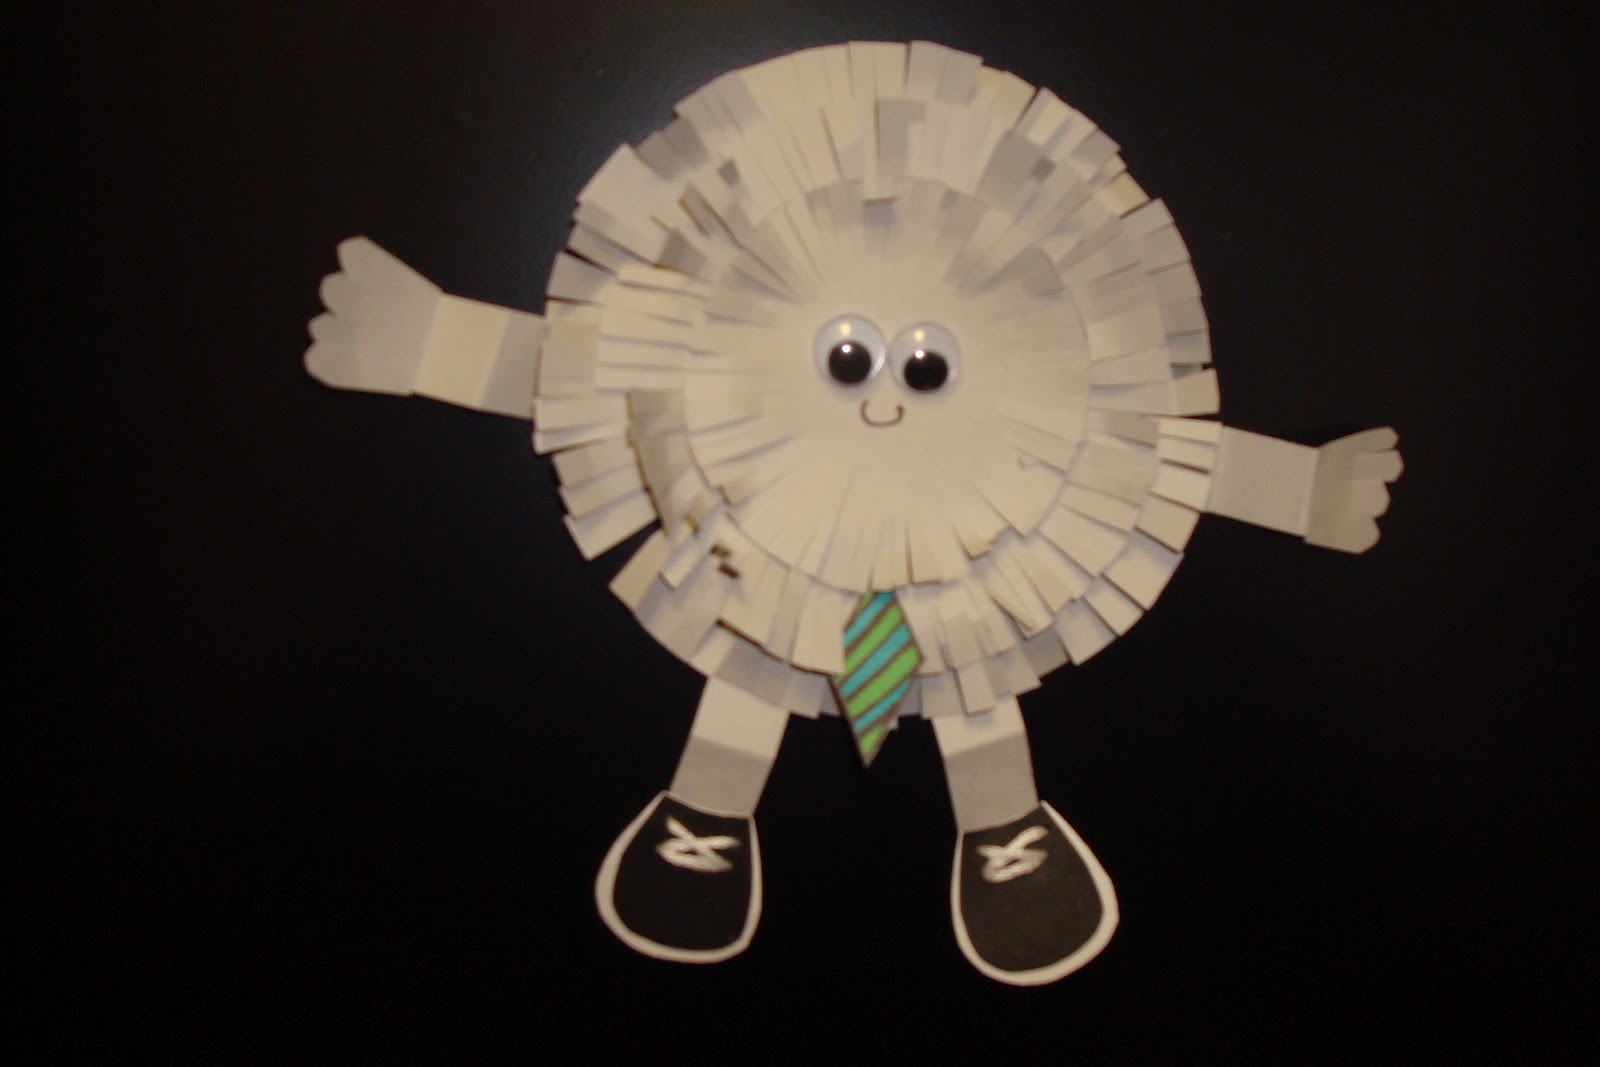
I enjoy doing this project. I talk about symmetry, proper cutting techniques, fringing, color choice, and design and pattern. I also introduce students to Polish cut-outs.

I already have the petals cut in squares. I find this to be a bit easier for the students to draw circles the same size. From there the students can cut out the circles and fringe to make petals.

Students are to draw a pattern or design on the pot. Sharpie markers are used for the pot designs.

Sunday, June 17, 2012

ERIC CARLE Project


I was asked by the principal to create artwork to cover the tables in the library. Students had taken off the top layer of the table and bare wood was showing. So I decided to do an Eric Carle theme. This is the first table that the students created. I will have the students decorate another table at the being of this coming school year. It turned out better than I expected.

I Love Eric Carle!


I had students paint paper and then we cut out the shapes and pasted the pieces onto the table. This was a very FUN project to work on.

Sunday, June 10, 2012

Ceramic OWLS!!!! again


If you have had a chance to go through my blog you know I have a thing for owls. This lesson I found on Artsonia. I do not have pics of the finished project. I wish I did. The first time I tried this with my students I had them wedge the clay together before pounding it back into a block. I wanted to have the students use the proper techniques. Well, it didn't work out the way I wanted it to. I think there was too many air pockets because all but 2 blew up in the kiln. So the second time around NO wedging.

I enjoyed this lesson because the students used many objects to add texture to the owls. The eyes we used bottle caps and a pencil. The feathers we used paper clips and the clay needle for extra added texture.


Saturday, June 9, 2012

WARM FUZZIES

I don't know if any of you have ever heard of a WARM FUZZY but I was introduced to warm fuzzies in elementary. The warm fuzzies then were a funny creature with a big belly on copier paper. In the belly you would right a thank-you or an acknowledgement to the person you were giving the warm fuzzy to. Well of course being an art teacher you have to move away from Xeroxing the warm fuzzies and you need to personalize them for that individual.
I always wanted to make a warm fuzzy for people at work but I always seemed to busy or something came up. Well one day the counselor was a huge help and I was very thankful and grateful that she was able to assist me. By the end of the day I had forgotten to shot her an email thanking her. So I said, I'll just do it first thing in the morning. Of course I forgot. Now it had been a couple of days and I could not tell her thank-you now. It would seem as if it wasn't that important. SO .......my warm fuzzy was the perfect solution!!!!!


Then I was asked to make the warm fuzzies for the staff of the month and for our aide appreciation. On the back of the warm fuzzy I have a white piece of construction paper.

I start off by writing......This Warm Fuzzy is for___________. Then I add why that individual gets the warm fuzzy. It is a great way to make someone feel warm & fuzzy!!